We sat. Three generations. Silent and tense.
The room was not unlike a prison cell – cinder-block walls, industrial and painted grey with cold floors that only live in hospitals. And that smell. You know the one. Extinction waiting around every dull corner. He was in a semi-coma, quiet but randomly responsive. Voices would make his eyebrows jump and occasionally his hands would move just like they had when he let loose with a punch line. He made sounds every once in awhile and we each imagined what they meant.
It is an exhausting thing to wait for death; difficult in ways one doesn’t really think about until doing it. Any other time, a person confined to a small room, waiting for something unpleasant would browse a magazine or toil over a puzzle, anything to occupy the mind. But there was none of that in our space. There were no monitors or machines or beeping boxes to alert us when the time had come. I knew we all secretly worried we would miss it. There was pain remedy dripping from an innocent bag, silently tending to the duty of making his exit inconspicuous. We watched with vigilance.
When it grew late, I found a nurse and asked her if they could please bring a recl…. I never finished my request. She knew which room I had come from. “Would someone prefer a cot?” No thank you… just one recliner. An orderly entered without a sound and rolled in a huge, overstuffed chair. It looked familiar. From the Critical Care Unit waiting room, I remembered. Behind him was a nurse I had not yet seen carrying blankets and pillows. She placed them on the chairs around the room and left without trying to make any ridiculous conversation. I liked her.
Around midnight, his breathing grew more labored. Not terribly so, but enough that the room was no longer silent. There was a rhythmic energy to the air. I found myself trying to match it, to help it, strengthen it. His face seemed more pained, pinched in places that it hadn’t been. His outbursts were less frequent. His hands weren’t talking to us anymore. Hours and hours of just his breathing – wet and swampy – were lying before us.
I don’t recall if anyone spoke or what we talked about if we did. My grandmother did finally find sleep in the recliner and her soft snores seemed out of pace with the rhythm in the room. My mother sat quietly, like me, agonizing over each breath and staring at him as if something was going to happen. Or change. I just knew that if I stared long enough I could will him to sit up and he would laugh at us for fretting… or he would slip out of bed and flirt with the nurses as he made his rebellious exit. I could visualize his face loosening and his eyes opening and that he would just talk to me. And I would have sense enough to ask him all the questions left burning in me since that night.
When time finally lost its hold on me, I pulled my chair as close to the bed as I could and rested my head alongside. His hand was right there, bruised and bloodied from all the needles and tape. It looked so fragile, like it didn’t belong to him. I thought how thin the skin was as I settled my face there. I could feel the bed give and take with every labor of his breath. It was a rocking chair, a cradle, a slow and steady march. It was hard to comprehend such fragility; hard to believe that this larger-than-life hero of mine was slipping away like this.
My brother was so afraid of him when we were small. He was a large man, with a larger voice – steady in his stature, but ultimately unpredictable. His callused hands were fidgety when without a cigar and his skin was storied and wise. He roared when he spoke and my brother would duck to safety behind my mother’s knees.
He was always ready with a nickel and an illicit request for a cookie or a fudgsicle. You had to be willing to sneak it to him since he wasn’t supposed to eat any sweets. “Diabetes,” he would quip with a roll of his eyes. He never believed them. When I realized I could be implicated in his quest for chocolate contraband, I upped my price to a quarter. He laughed and made the deal. I wasn’t afraid of him like the others were. His enormous energy settled and nurtured me, and I spent my whole childhood believing I was his favorite.
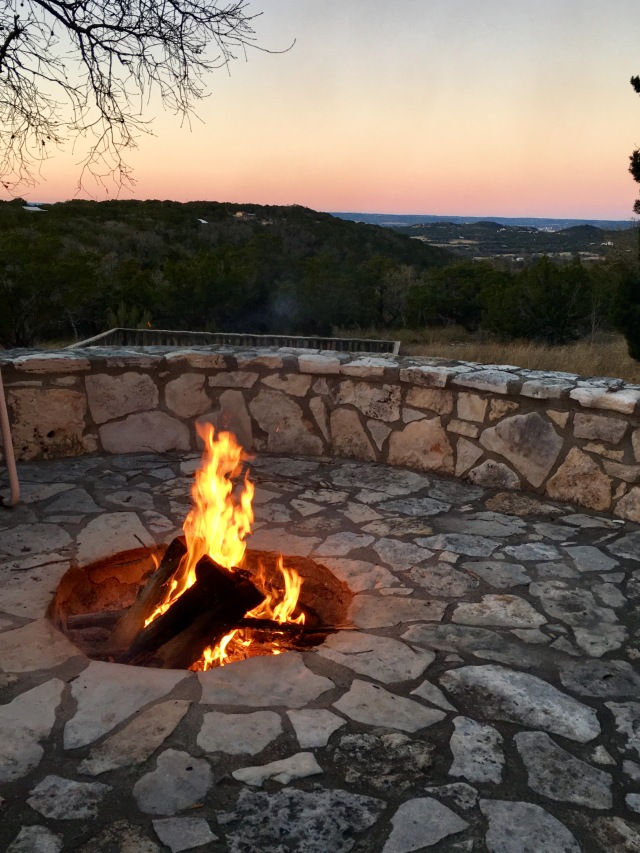
His back patio was a haven for a myriad of wayward things – a museum of his own creation with knives and arrowheads, barbed wire fencing, photos of outlaws, glass bottles full of coins and a cranky typewriter at which he often cussed while he poked out letters on yellowed papers. There were live exhibits, too, and they were often just as wayward. Beyond those glass doors you might discover the local chief of police or “Doc,” the stately university president. On rare occasions, a dark, lanky figure would wander stealthily up the driveway – a decorated helicopter pilot simply called “Smoke” who’d been shot down four times in Viet Nam. I never actually heard him speak. One of my favorite regulars was Sam Pat, a submariner from WWII who talked a lot and laughed even more. There was also the man they called “Governor” – or rather “Gov’ner” as we tend to say in the South – and not because it was a nickname, but because he was one.
My grandfather would hold court on that dusty, Texas patio while I sat quietly at their feet, hoping they would forget I was there so I could capture every word of every tall tale. I know now that I heard lots of things my mother would have preferred I not. But it was one of my favorite places to be, that back patio kingdom of his.
I suppose I slept for moments at a time. His breathing would always startle me back awake and my eyes would burn. We’d been in that hospital for days and days, seventeen hours in that room alone. When it was just about dawn, he was still there. I felt surprised and buoyed by the promise of a new day. The nurse I liked had finished her shift and gone home. My own lungs ached along with his, desperate to lend them help. The breaths were saturated and stuttered. With every exhalation we anticipated that he would simply not breath in again; seconds would pass, time would stall and he would surprise us and gasp again.
Finally, after the sun had fully risen, that raspy inhalation did not come. We waited. No one was breathing – our collective breaths held. I sat up straight. How long had it been? Long enough? I tore my eyes from his face to look at my mother, seated just across him from me. I peeked back at him. His face was relaxed, his brow limp. Shouldn’t someone be saying something? I looked about with the frantic realization that my sleeping grandmother did not know. I finally exhaled. With trembling lips my mother mouthed the words, “Bye Daddy.” Then she looked past me, “Momma? Momma wake up.”
The sun was quick to peek through a stubborn crack in the blinds and illuminate a cobweb on the window sill, too high for anyone to reach. I was still expecting the next gasp to come. Instead, the door erupted and in bustled a new nurse on the first moments of her shift. She was cheery and oblivious. “Good morning! How is everyone this morning?” I looked from face to face, waiting, desperate for someone to say it. To hear the words out loud that it was real. The bouncy nurse checked his pain medication and stopped short. She looked at him and grabbed his wrist. Instantly somber, she turned to my mother and said, “I’ll get a doctor right away.”
And then, into our tomb of silence, suddenly people were everywhere. Several busy nurses and two doctors – because even death requires a second opinion. The hospital priest arrived to say a blessing and generally get in the way. It felt very hectic and I was no longer sure what to do. My mother calmly instructed me to start calling people. And say what? I thought. No one had actually even said it yet. So I called someone to whom I would not have to really speak. My father answered the phone too quickly and I simply said, “Dad?” “OK sweetie, tell your mother I’ll be right there.”
A brief eternity later, in my grandmother’s sunroom, the family was gathering. All the people who had enjoyed a good night’s sleep were now telling us how things were going to be. My grandmother, our matriarch extraordinaire, began orchestrating as if planning a pageant. I was sitting on her blue sofa. There was a plaid, chintz pillow and a slightly worn spot in the rug at my feet. If I looked just to my left, I could see through the glass doors to his chair on the patio. His museum perfectly intact. His cat asleep in his chair.
All I could hear amid the murmuring voices was his breathing – the breathing that would soundtrack my nightmares for months to follow. It was like being underwater. And then one word… obituary. That’s what finally got through. My grandmother was sitting next to me, asking me to write his obituary. “You know his whole life, darlin’, and he would want you to do it, of all people. Will you get his obituary ready?”
So, turned out, the first time I actually said it, I didn’t really say it at all.
I wrote it.
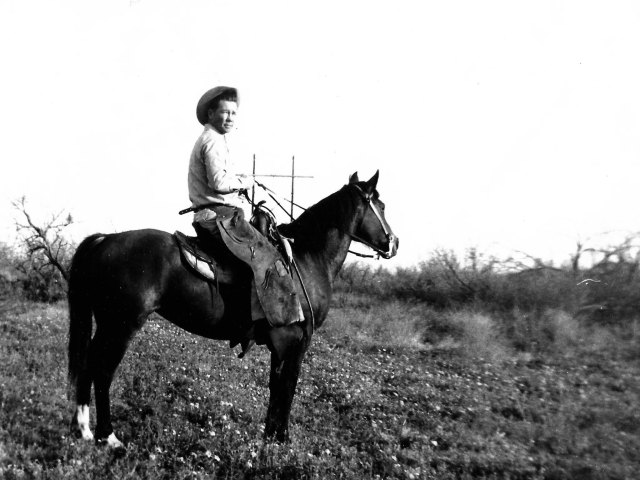
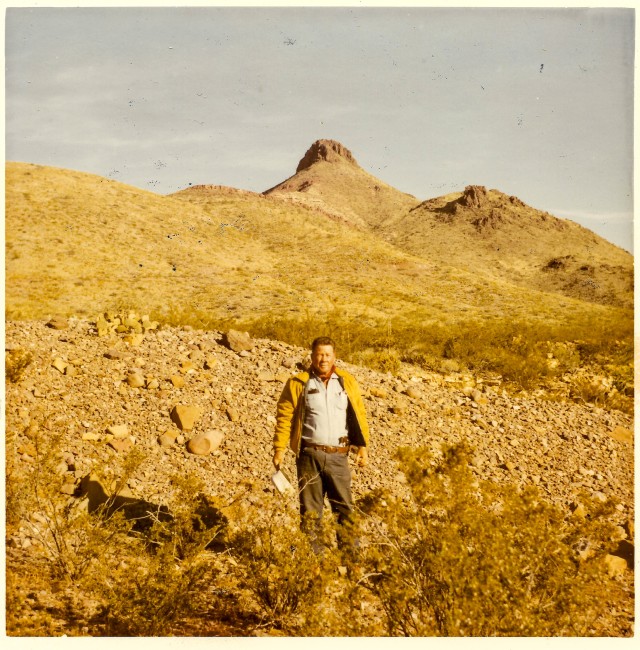
“Ernest Gilmore Garrison, United States Border Patrol, Retired, died on January 14th at the age of….”
I suppose I’m still writing it.


 We’ve all heard the hordes of experts tell us there is no “right” way to experience grief. It is not something at which you can “win” or “lose.” And when you are grieving on your own, as an individual, this truth might be a little easier to believe in. But, when you are grieving as a couple, this concept can feel more elusive. A couple who is grieving a shared loss or trauma, the death of a pet or a person close to them or even a shared child, will be very tempted to expect that their grief will look similar or march to the same timeline. But because grief tends to layer itself onto our old losses and onto our personal history, it will affect each of us differently and individual reactions can vary greatly. It can be quite challenging for a couple to seek out the commonalities and simply attempt to understand the other person’s journey, rather than focus on the differences, judge them or try to assign meaning to their behaviors.
 When I finally spoke up and asked my husband about his own ways of coping he explained to me, “Of course I am sad. I cry in my car, alone. When I’m with you, I feel like I should be pulled together so you don’t have to be. I’m tired of feeling helpless…what happened to us feels so far out of my control. Going to work makes me feel less helpless. It makes me feel like I am doing something productive, shielding you from having to go yourself… it lets me feel like I have some control over something again. But it doesn’t mean that I’m not also very, very sad.”
 I listen to grieving hearts and give permission for these kinds of things all the time:
  Here are some of the ways I’ve encountered over the years that couples use to increase their understanding, connection and communication:
 Shared Action
 Self-Care